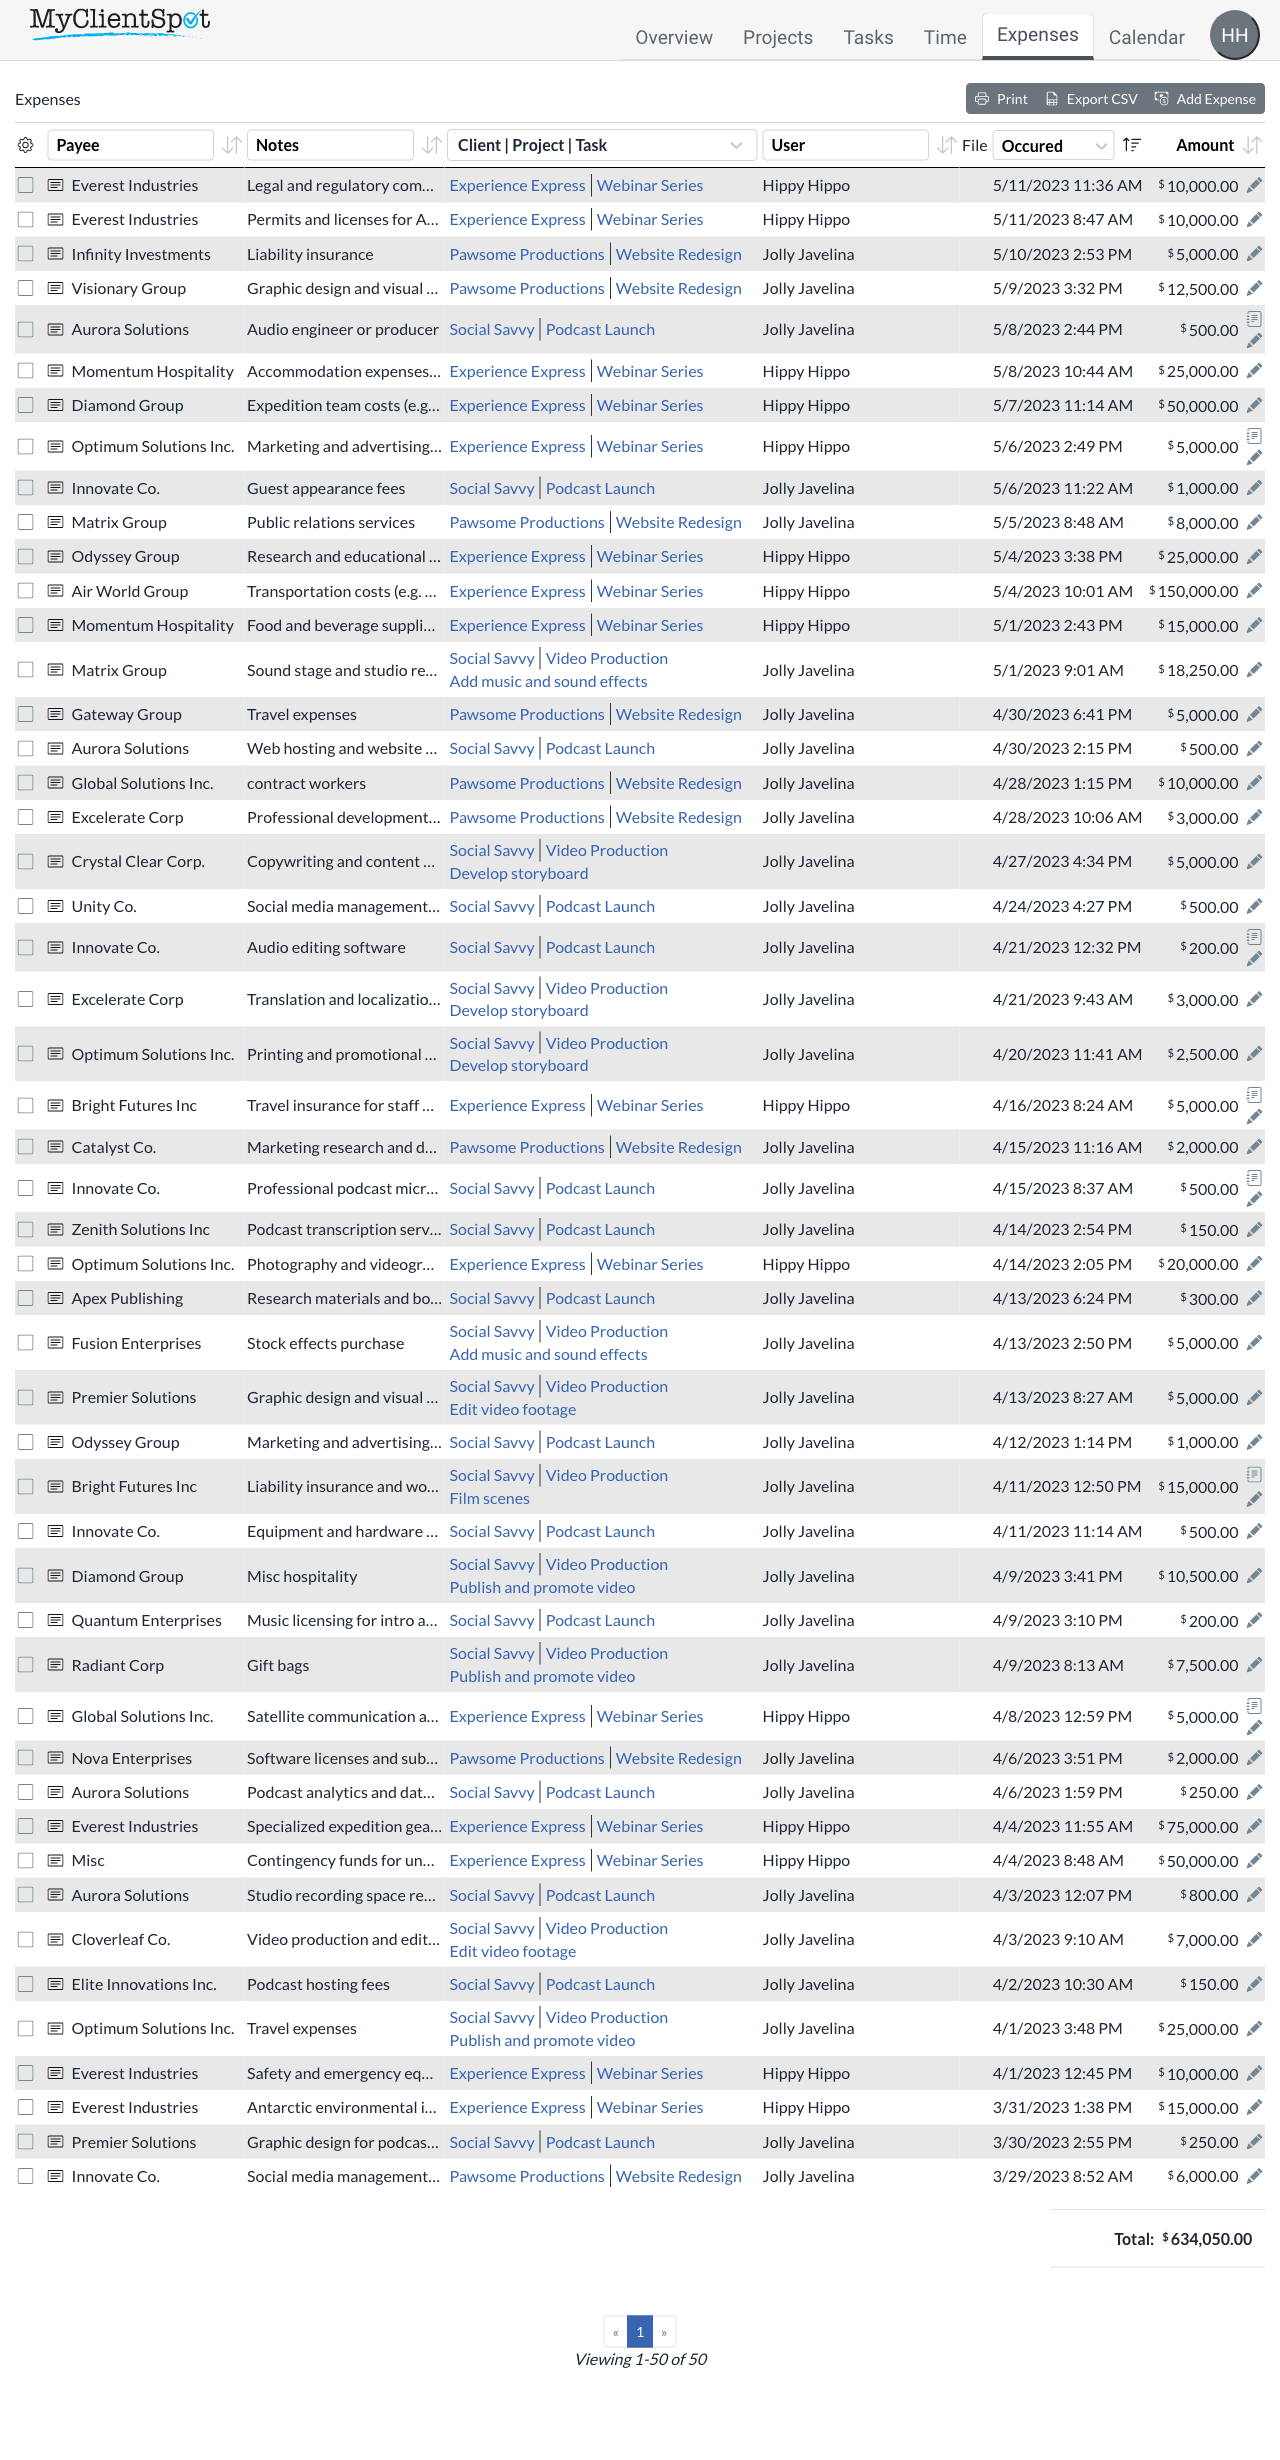
By default the main expenses screen shows a list of all expenses that are “unapproved”. You can easily filter the list to show only expenses incurred in a date range and for certain clients or projects. As with other listing screens, the filters are “sticky” and will remember their state between sessions.
The (pencil) icon opens the edit screen and the (note) icon indicates the expense has been modified. Click it to view who made the change and what was modified.
Print, Add and Export Expenses
Export as a CSV for use in Excel or Google Sheets. Adding an expense also has the easy to remember keyboard shortcut ctrl+e.
View total of all expenses
This total is the sum of all expenses displayed in the table. You can adjust the search filters to the desired criteria then view the sum here.
Search and sort expenses
The (gear icon) will filter to display all expenses for your company, only ones that belong to certain clients or projects, incurred by users, or by a date range. As with all MyClientSpot review screens, the filters and sort are sticky, meaning they retain their values until modified.
Adding expenses
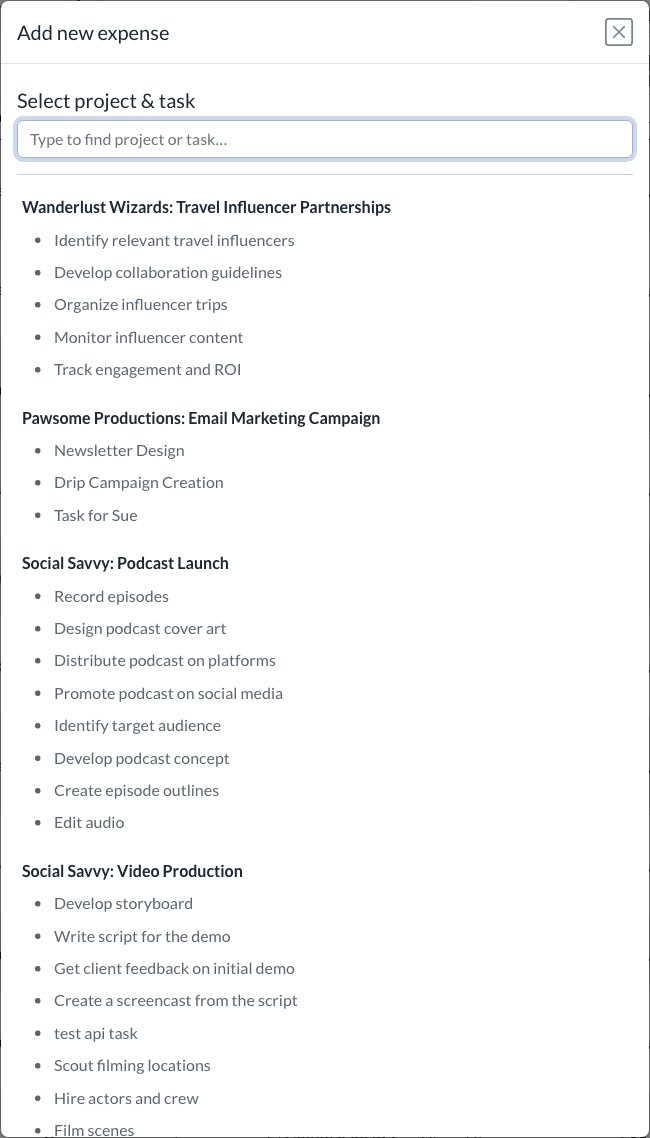
Click the Add Expense button from the list pictured above (or press ctrl+e) to begin adding an expense. A list of active projects with active tasks is displayed. Select the project or task that the expense is incurred for. If you want to track internal expenses we recommend you create a “Internal” task or project and use that for non-client expenses. Doing so will allow you to easily segregate expenses.
Tasks are searched for substrings that match entered text. Pressing will select the first task, and will cancel entering the expense.
Only active projects are shown
Tasks that are not marked as active will be hidden, as well as projects and tasks that a user lacks permission to view.
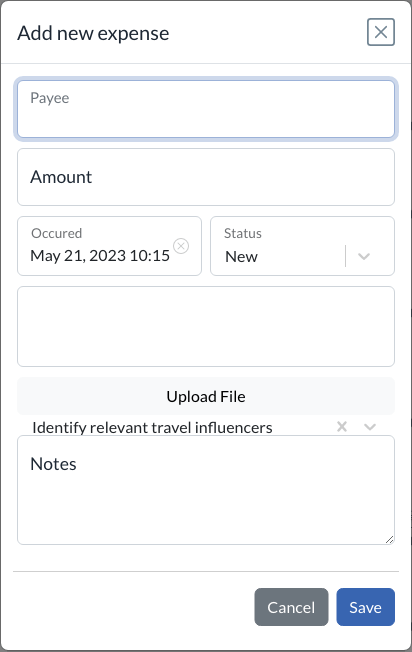
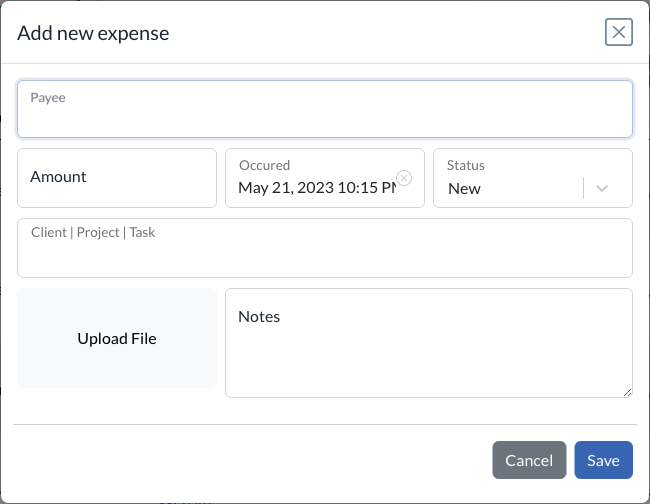
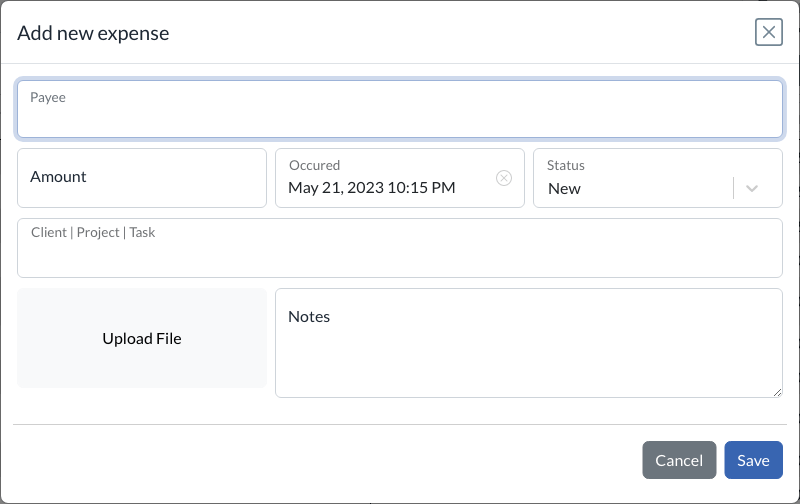
Entering expenses information
The below form is used to both enter and edit expenses. It’s intended to be easy to add multiple expenses easily. For maximum efficiency, you can use the following user flow:
Press keyboard shortcut ctrl+e on the listing page to open the task search
Type a few characters to bring the task you need to the top and press enter select it
The form below will open with the Payee auto focused, type the name and press Tab
The cursor will move to the Amount field, enter it and then press enter to save the record and return to the list above.